Hello everyone!
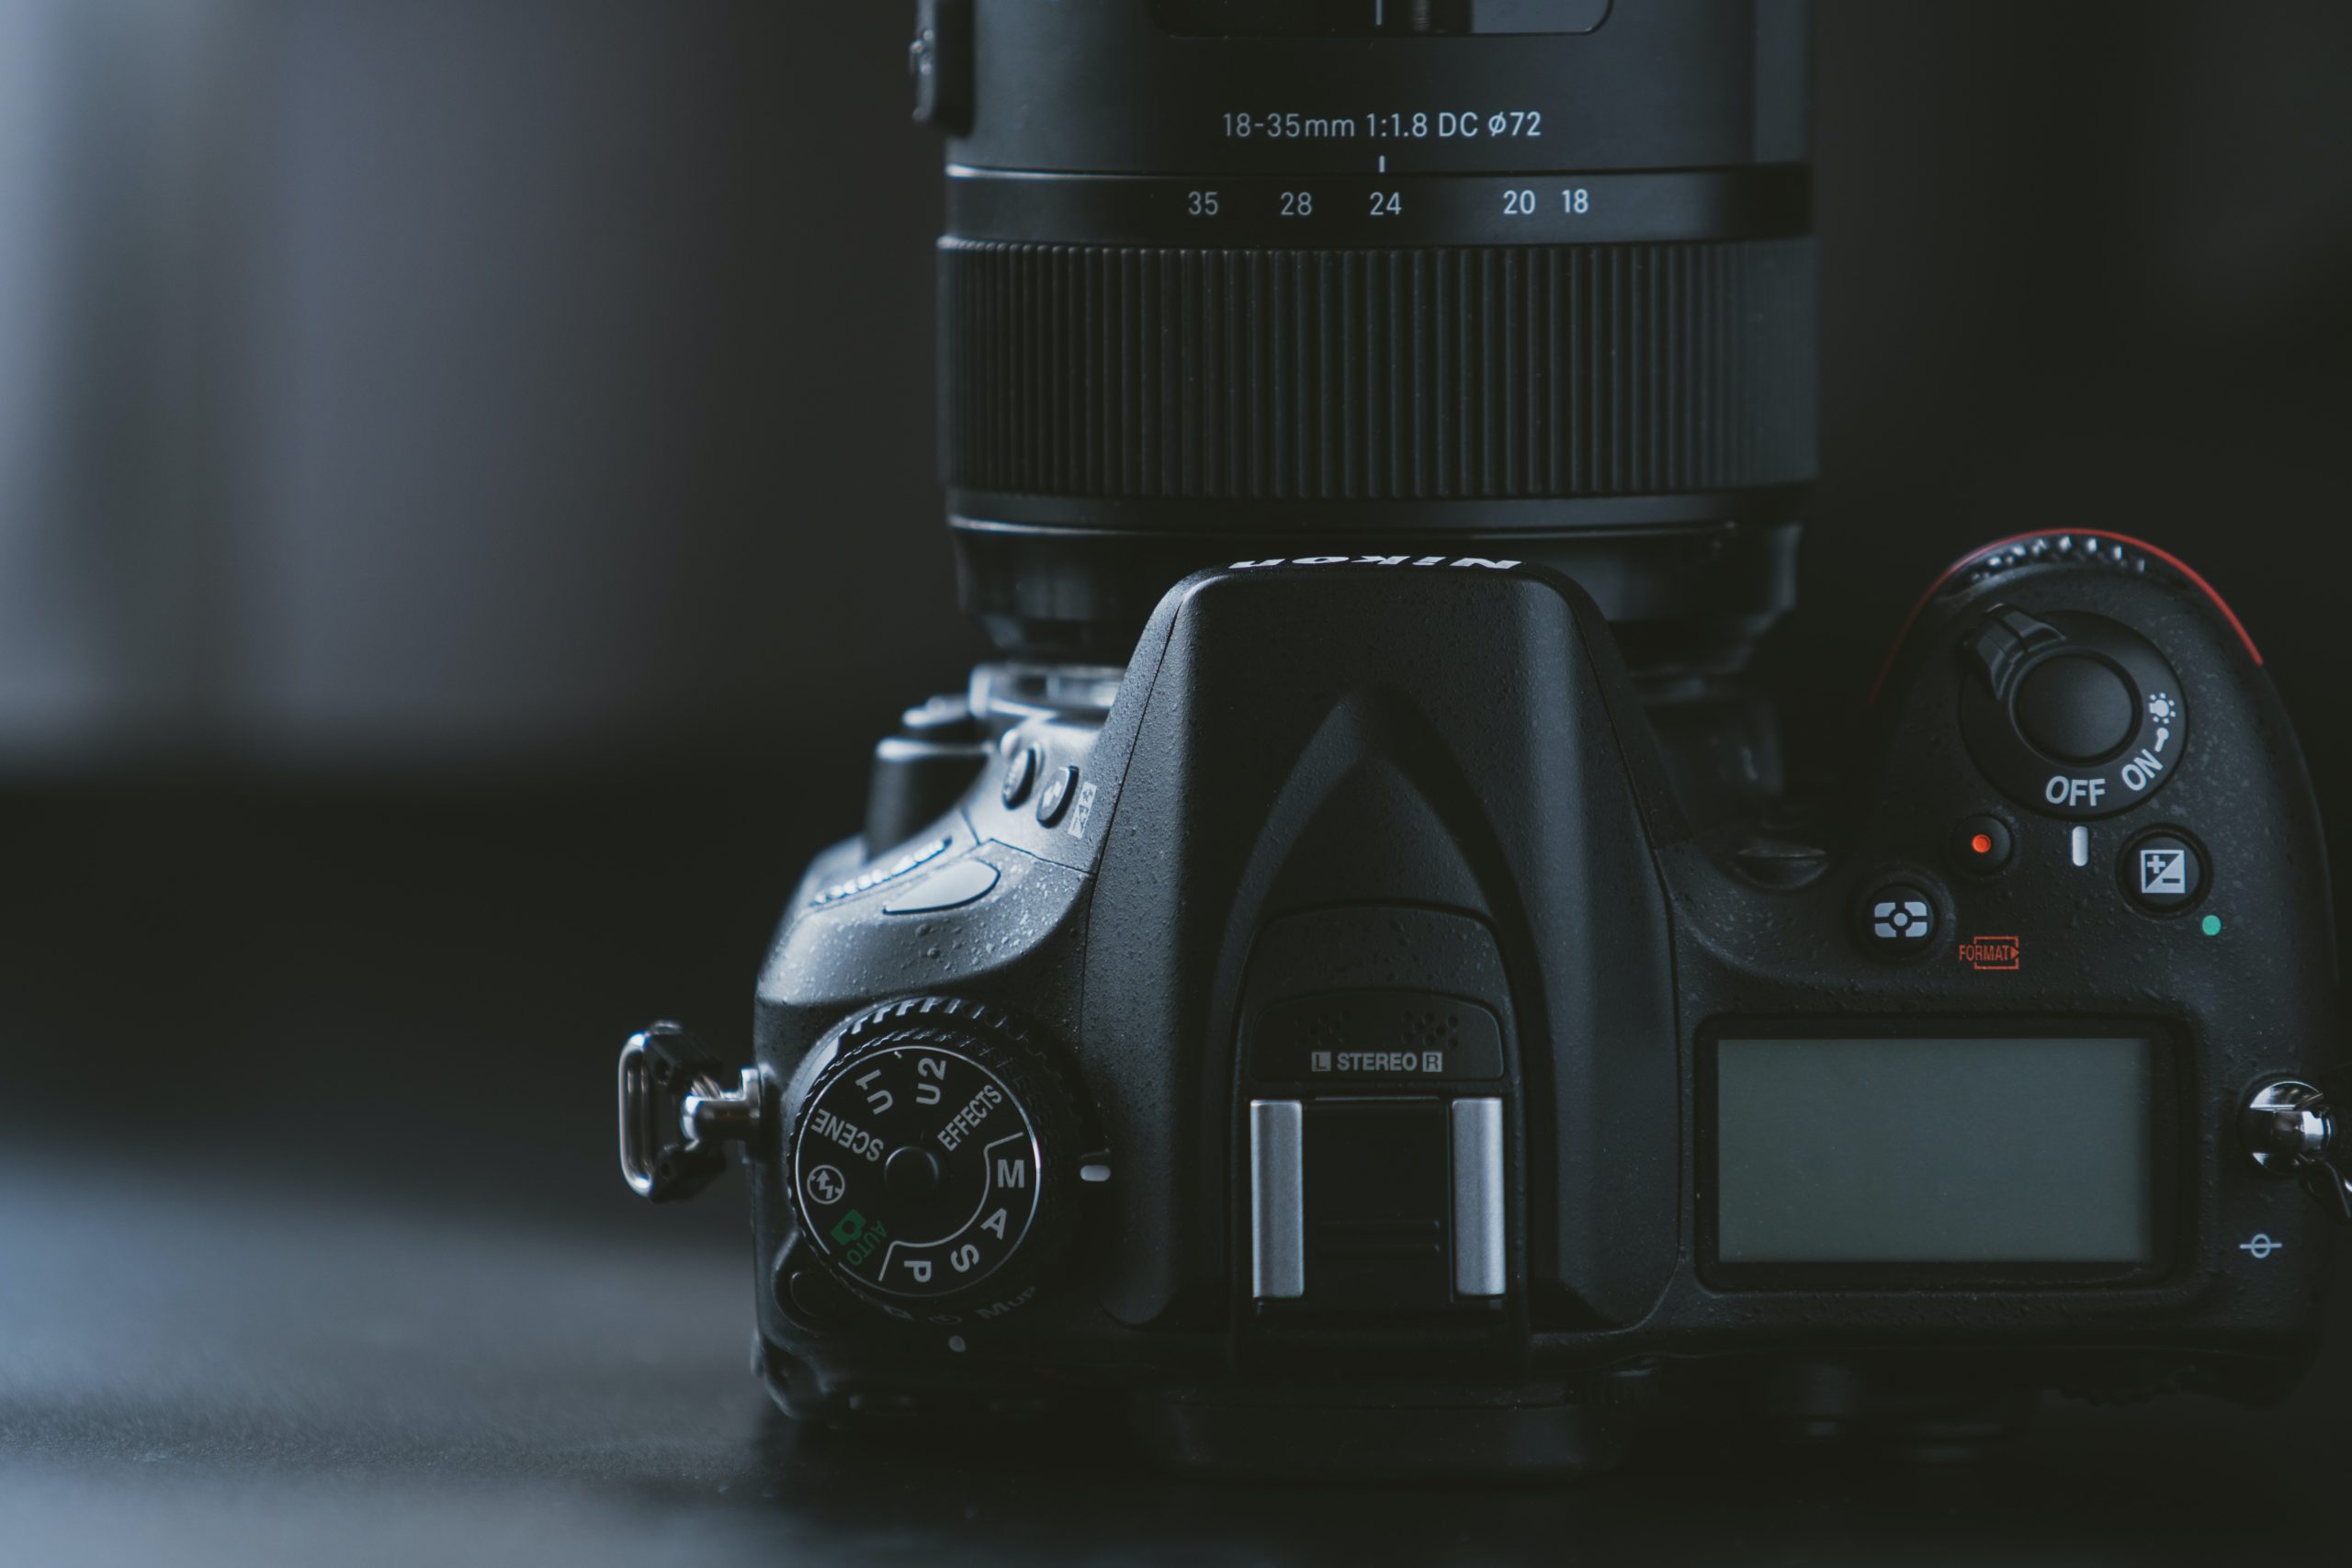
Following up on my previous post about the lovely blurring of backgrounds known as “bokeh” I thought I’d give a little background (pun intended) on the various modes of your camera. For the sake of this little discussion I’ll be referring to the settings on my Panasonic, but many cameras like Nikon (pictured) have similar options.
Most cameras these days come with an option that allows for full automatic operation, which makes it easy to snap clear photos every time, but that takes away some of the creative control.
On the flip side there is the fully manual mode, which puts the user in full creative control… but makes it harder if you don’t have a lot of experience.
Fortunately there’s a space in between on a lot of cameras. My GH3 has two very useful options that are easy to understand and use with just a little practice. The control dial has M (for manual) but it also has A (for aperture priority) and S (for shutter priority).

Aperture Priority
Using this feature allows you to remain in control of the aperture setting in order to get that shallow depth of field you like, while the camera handles adjusting everything else to compensate. So if you want a wide open aperture like F1.4 your lens will allow in a lot of light, and the camera will likely speed up the shutter and reduce the ISO in order to get the light just right. If you want it narrowed down to something like F16 the shutter will have to remain open longer, so this could create motion blur if you’re capturing a moving target (your kids baseball game, for example).
Shutter Priority
With that baseball example in mind, if you want to make sure you have a really fast shutter to capture your kid in action you can move the dial to “S” and control the shutter speed. This will allow the camera to handle the other settings like aperture and ISO.
There are other options to dive in to but as you start out these are a couple great ones to get your feet wet with “manual” control without diving all the way in.
Thanks,
Dave


